Barn doors have become a popular choice for modern homes due to their industrial aesthetic and space-saving benefits. Using National Hardware's products as a reference, this guide provides detailed installation steps and expert recommendations to help you achieve a seamless DIY upgrade.
Tools Required:
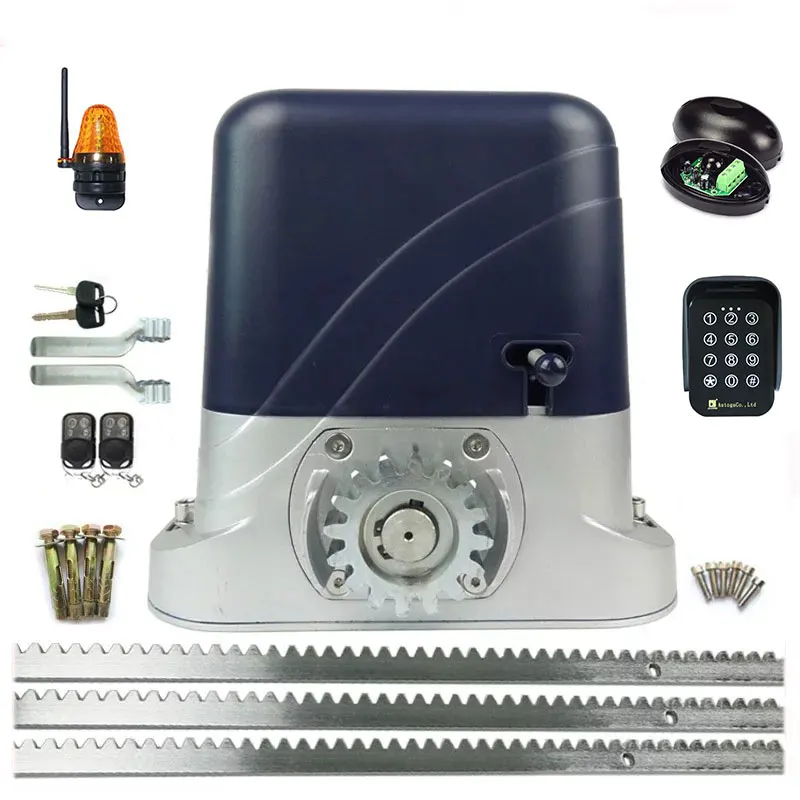
Materials Checklist:
Wall Requirements: Confirm load-bearing wall structure (locate studs for drywall).
Track Height: Maintain 0.4–0.8" clearance between door bottom and floor.
Track Length: Extend 6" beyond door frame on both sides to prevent collisions.
Mark mounting points using a level for perfect alignment.
Drill pilot holes and secure track brackets (For example, Heavy-Duty Mounting Brackets need to be spaced 40 cm apart)
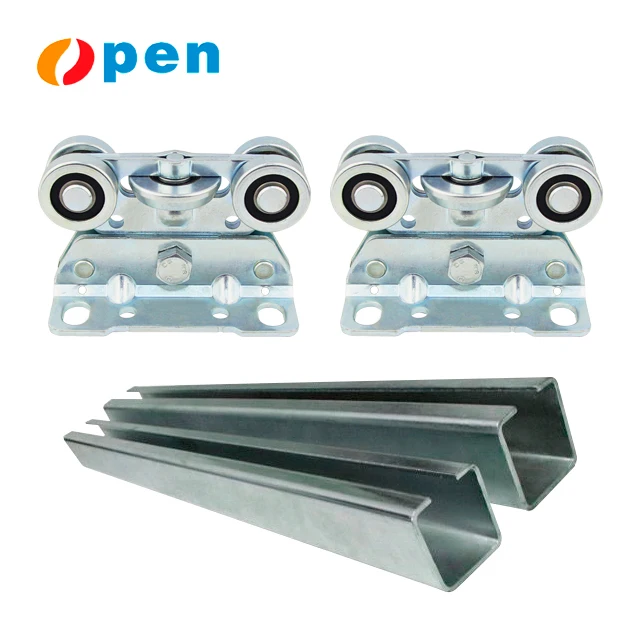
Snap the track into brackets and tighten with provided screws.
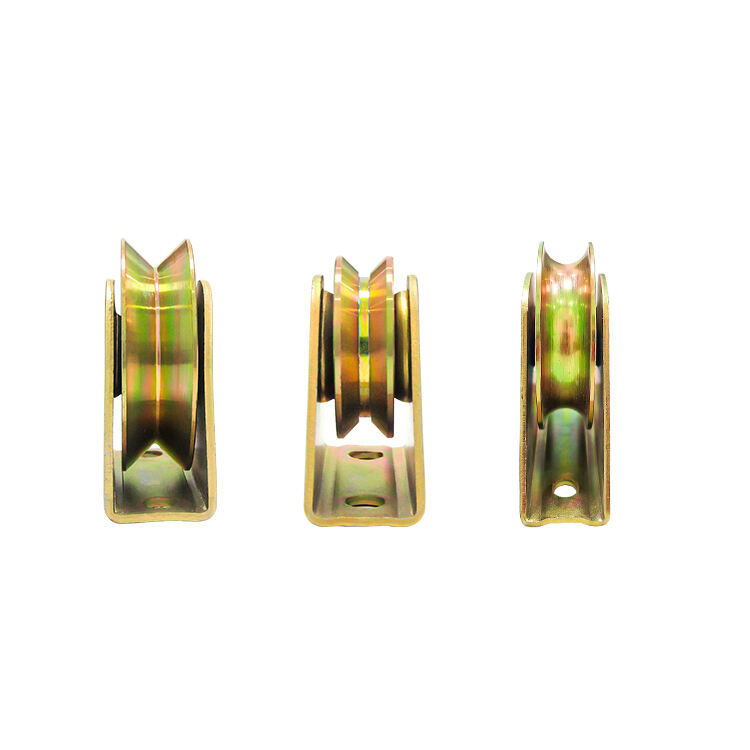
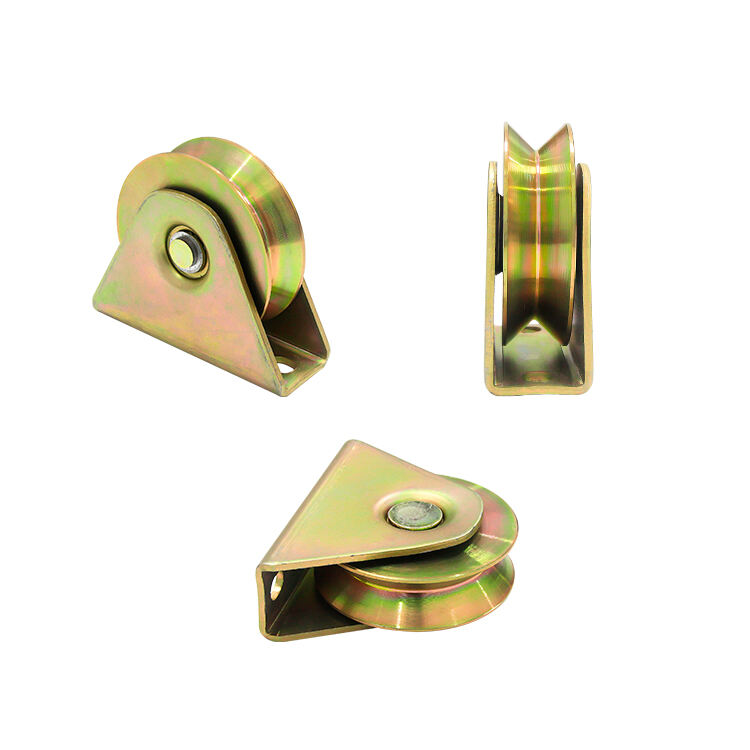
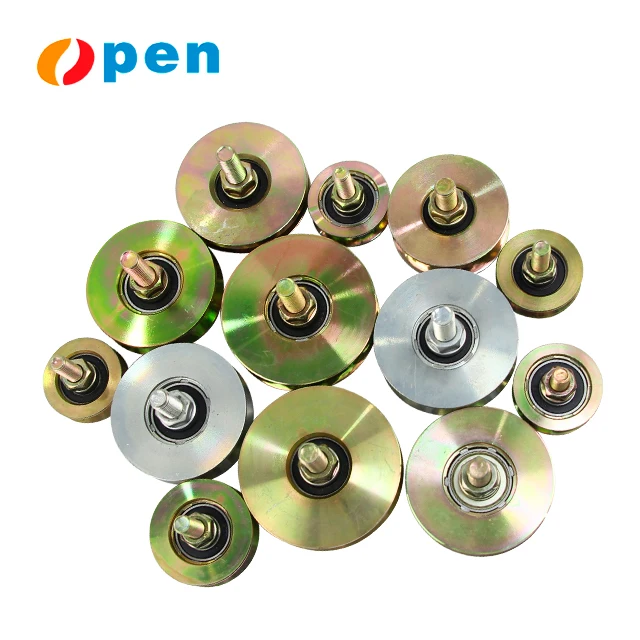
Fix hanger wheels(eg H3-3 ) to the door’s top edge using pre-drilled holes, spaced at 1/3 of the door width.
For non-pre-drilled doors, mark positions and drill holes matching bolt specifications.
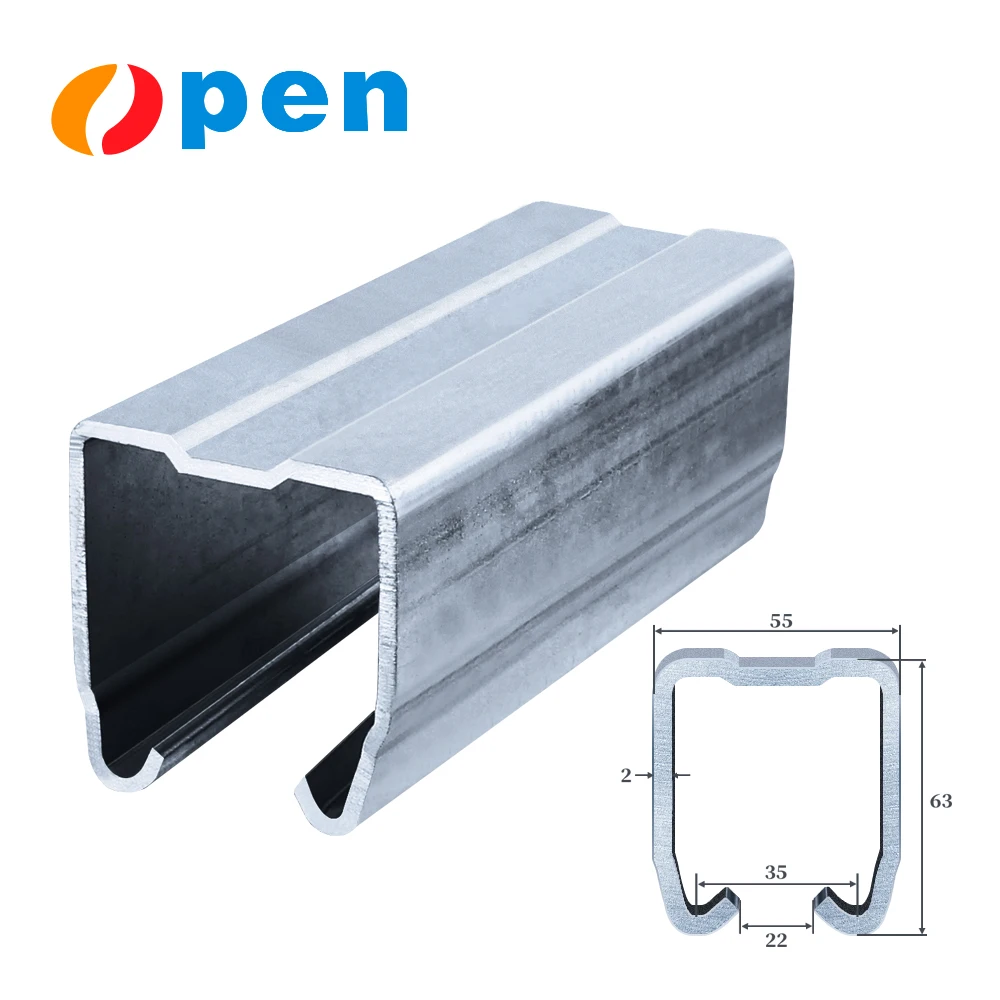
Align Exterior Barn Door Hangers with the Exterior Barn Door Rails and slide the door into place.
Install track stoppers at both ends to prevent derailment.
Secure the floor guide centrally under the door gap to eliminate sway.
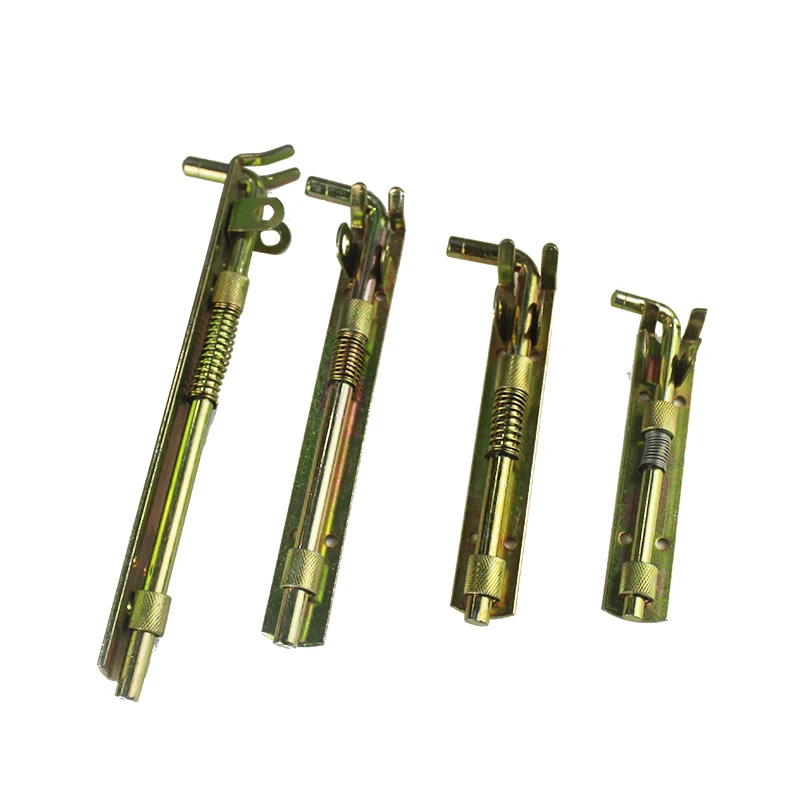
Attach an anti-jump device at the track’s end to stabilize movement.
Balance Adjustment: Fine-tune hanger height screws for vertical alignment.
Noise Reduction: Apply silicone-based lubricant to the track.
Safety Check: Test 10+ opening/closing cycles to confirm bolt tightness.
Door Tilting: Verify hanger levelness or floor guide alignment.
Sticking Movement: Clean track or upgrade to precision-bearing hangers (e.g., NH-180 Series).
Wall Strength Issues: Use toggle bolts or reinforce wall structure.
Follow these steps to install your barn door efficiently. For detailed product specifications, you can contact our sales for more information .
 Hot News
Zhejiang Open Electromechanical provides premium sliding door hardware and gate accessories for global markets. Our advanced equipment, 20+ years of expertise, and 20+ patents deliver durable, innovative solutions. ISO-certified manufacturer. Partner with us today!