Laying a Robust Foundation: Concrete Footings and Post Installation for Cantilever Gate Kit Stability
Post Depth, Diameter, and Frost-Line Compliance to Prevent Shifting
Getting those posts installed correctly really matters if we want to stop our cantilever gates from moving around when they're put through their paces. When digging those holes, go for about three times the width of whatever post we're dealing with. For regular old 4-inch steel posts, that means making 12 inch wide holes works pretty well. The bottom of these holes needs to sit at least six inches beneath whatever depth freezes locally. Up north folks generally need to dig down around 36 inches minimum because of all that freezing action, whereas down south somewhere around 24 inches usually does the trick. What this underground setup actually does is fight against something called frost heave which happens to be number one on the list of reasons why gates end up out of whack early on. We're talking about roughly 80 percent of all alignment problems reported out there in the real world being caused by this exact issue. Before breaking ground though, double check what kind of freeze zone we live in using those official USDA plant hardiness charts they have available online.
Concrete Volume, Rebar Reinforcement, and Curing Best Practices
When it comes to gate posts, they need way more concrete than regular fence posts. Think about 1.5 cubic feet needed for those 6 foot sections, and bump that up to around 2.2 cubic feet when dealing with 8 foot gates. Before pouring anything, make sure to install a #4 rebar cage around each post. Four vertical rods tied together with horizontal stirrups spaced roughly 12 inches apart works best. This kind of reinforcement actually boosts load capacity by almost triple what plain old concrete can handle on its own. For materials, go with 3,000 PSI Portland cement mixed properly at about a 5 to 1 ratio of aggregate to cement. Important detail here: slope the top surface of the poured concrete away from the post at about a 15 degree angle so water drains off properly. Letting it cure is critical too. Cover with damp burlap and keep it consistently moist for seven whole days. Don't be tempted by rapid setting mixes though, because these can really weaken the structure sometimes cutting strength by as much as 30%. Keeping things wet while curing helps avoid those tiny cracks and makes sure the concrete reaches its maximum strength potential over time.
Installing and Aligning the Guide Rail System for Seamless Cantilever Gate Kit Movement
Mounting Height, Leveling, and Critical ±1/16” Horizontal Tolerance
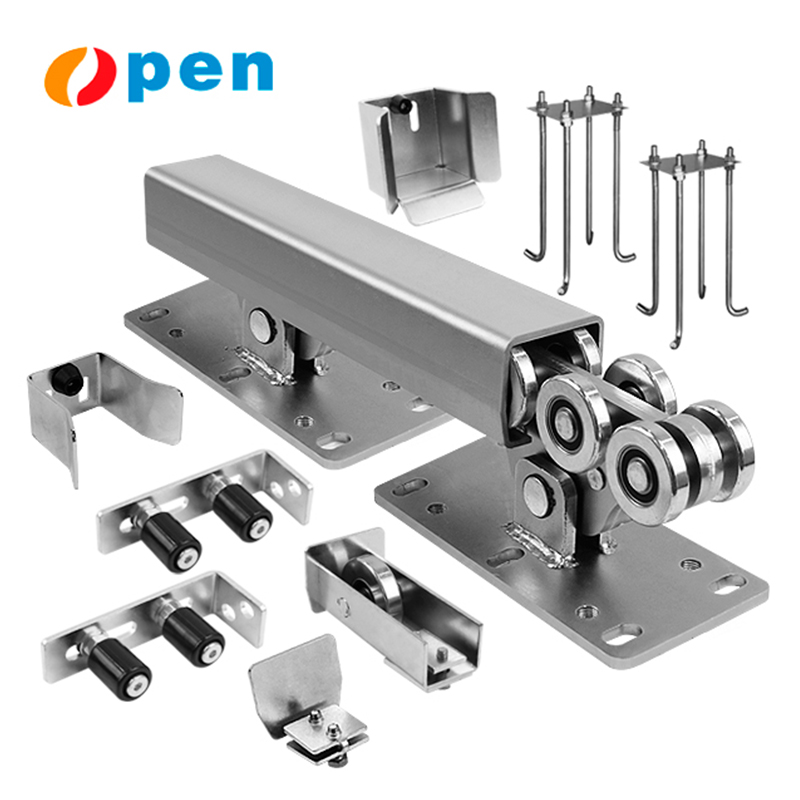
Getting the guide rails aligned correctly is absolutely critical if we want our cantilever gate kit to run smoothly over time. Before installing anything, it's smart to set up a laser level reference line that covers the whole gate path from start to finish. We need to keep things pretty flat too – around 1/16 inch up or down works best throughout the entire rail length. When the alignment goes beyond that range, gates tend to bind up, rollers wear out unevenly, and tracks degrade much faster than they should. The manufacturer usually specifies where exactly to position these rails compared to the carriage rollers, generally somewhere between 1 and 2 inches above ground level so dirt and debris don't get stuck underneath. Adjustable mounting brackets come in really handy here because they let us make those tiny adjustments needed when everything else just isn't quite right. These brackets compensate for small imperfections in the surface where we're installing the gate system.
Ensuring Compatibility Between Galvanized RHS Rails and Carriage Components
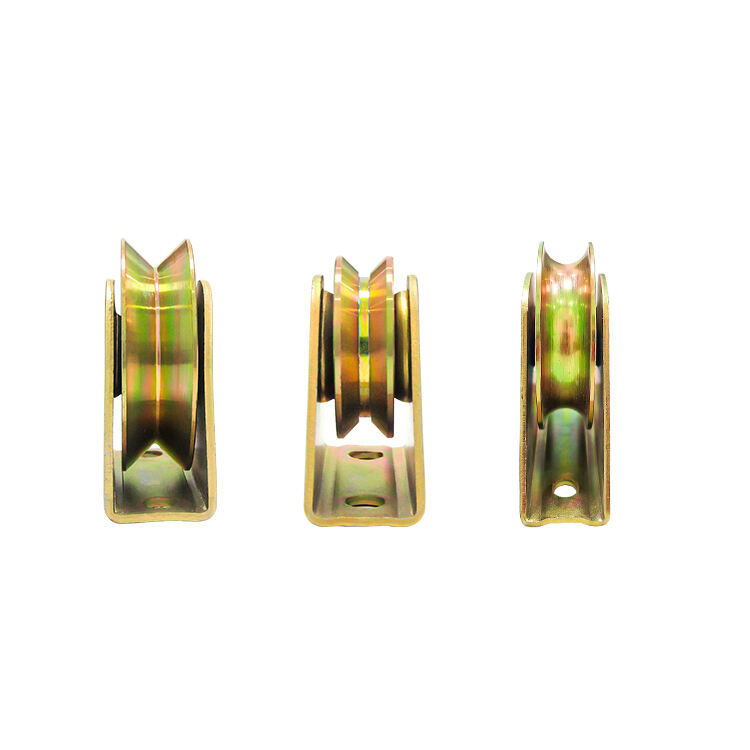
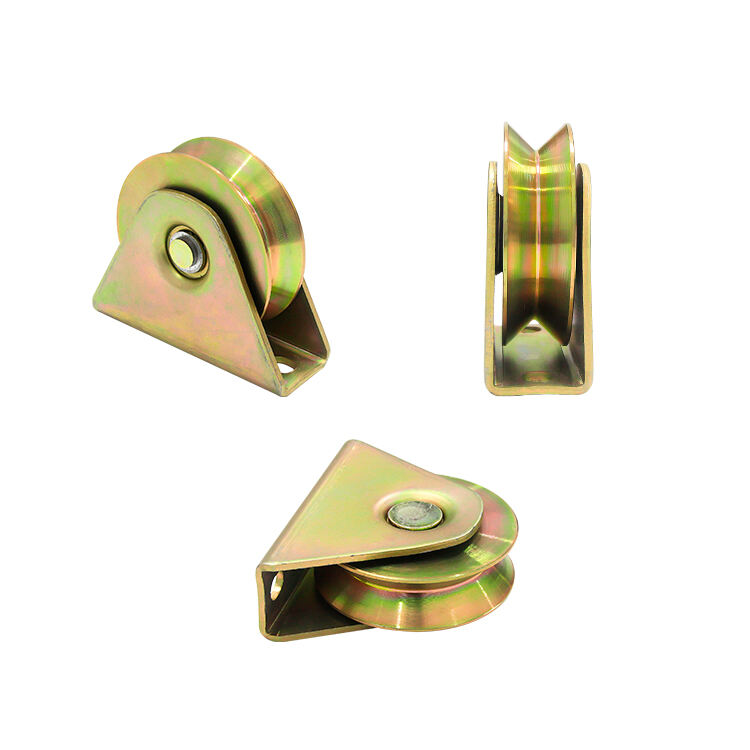
When installing Galvanized Rectangular Hollow Section (RHS) rails, they need to match up properly with the carriage roller profiles so weight gets distributed evenly and we avoid those pesky point-load issues. Before putting everything together, check these important things first. The rail material should be at least 3mm thick to hold up structurally. Also make sure there's enough room for the rollers to sit nicely against the rail edges without any gaps. If working near saltwater or in places where humidity runs high, it's best practice to combine hot dip galvanized rails with stainless steel rollers. This combo helps fight off rust where the parts touch each other. Always do a test run with all components loose before tightening them down completely. Getting this alignment wrong leads to uneven stress on the system, which tends to shorten its life expectancy quite dramatically sometimes cutting service life down by around two thirds compared to proper installation.
Hanging the Gate: Roller Placement, Weight Distribution, and Alignment Calibration
Optimal Cantilever Gate Roller Spacing Based on Gate Weight and Span
The way we space those rollers really affects how stable the gate stays, controls how much it bends, and determines how long all those parts will last. When dealing with gates weighing less than 300 pounds, most folks space their rollers between 18 to 24 inches apart. But if the installation is heavier, then going for 24 to 36 inches makes more sense. Tests have shown that following these spacing guidelines keeps vertical movement below 0.1 inch when everything is running at full capacity, which matters a lot for keeping things level and reducing wear on the tracks over time. Getting the spacing wrong or inconsistent can actually speed up component failures by around 40 percent. On the flip side, proper placement tends to give those rollers an extra 2 to 3 years of service life compared to just throwing them in wherever. After putting everything together, always double check those clearances and remember to factor in thermal expansion too. This becomes especially important where temperatures fluctuate quite a bit throughout the day.
Finalizing Operation: Latching, Hardware Integration, and Environmental Hardening
Selecting Operator-Compatible Latches, Covers, and Corrosion-Resistant Fasteners
When designing latching hardware, it needs to work seamlessly with automated operators. Compatibility goes beyond just fitting together physically; timing and how forces are applied matter too. For fasteners, go with stainless steel or quality zinc plating options since these materials stand up better against salt, moisture, and all sorts of industrial grime that causes most hardware failures in tough environments. About 3/4 of problems come down to corrosion issues actually. Covers over rollers and tracks need to block out dirt and dust completely, but they also have to let air circulate so condensation doesn't form inside. Make sure the latches actually talk properly to the control system in the cantilever gate kit. When parts don't match up right, things get delayed, sensors give wrong warnings, and extra stress builds up on moving parts. Good hardware choices tend to last much longer than expected, often pushing past 10-15 years before needing replacement, and means fewer surprise breakdowns during operation.
Frequently Asked Questions
What is the optimal depth for setting gate post holes?
The optimal depth for gate post holes should be at least six inches beneath the local frost line. In northern regions, this typically means digging down around 36 inches, while in southern areas, approximately 24 inches is usually sufficient.
Why is rebar reinforcement necessary for gate posts?
Rebar reinforcement is necessary because it boosts the load capacity of concrete by nearly three times.Maintaining a 5 to 1 aggregate to cement ratio with 3,000 PSI Portland cement provides optimal strength.
How can corrosion be prevented in gate hardware?
Opt for stainless steel or zinc-plated fasteners, which are more resilient to corrosion caused by moisture and industrial environments, to prolong the life of gate hardware.
How should rollers be spaced on a cantilever gate?
For gates under 300 pounds, space rollers between 18 to 24 inches. Heavier gates should have rollers spaced 24 to 36 inches apart to ensure stability and longevity.
Table of Contents
- Laying a Robust Foundation: Concrete Footings and Post Installation for Cantilever Gate Kit Stability
- Installing and Aligning the Guide Rail System for Seamless Cantilever Gate Kit Movement
- Hanging the Gate: Roller Placement, Weight Distribution, and Alignment Calibration
- Finalizing Operation: Latching, Hardware Integration, and Environmental Hardening
- Frequently Asked Questions